LAB 3
Operating System : LAB 3
Part 1
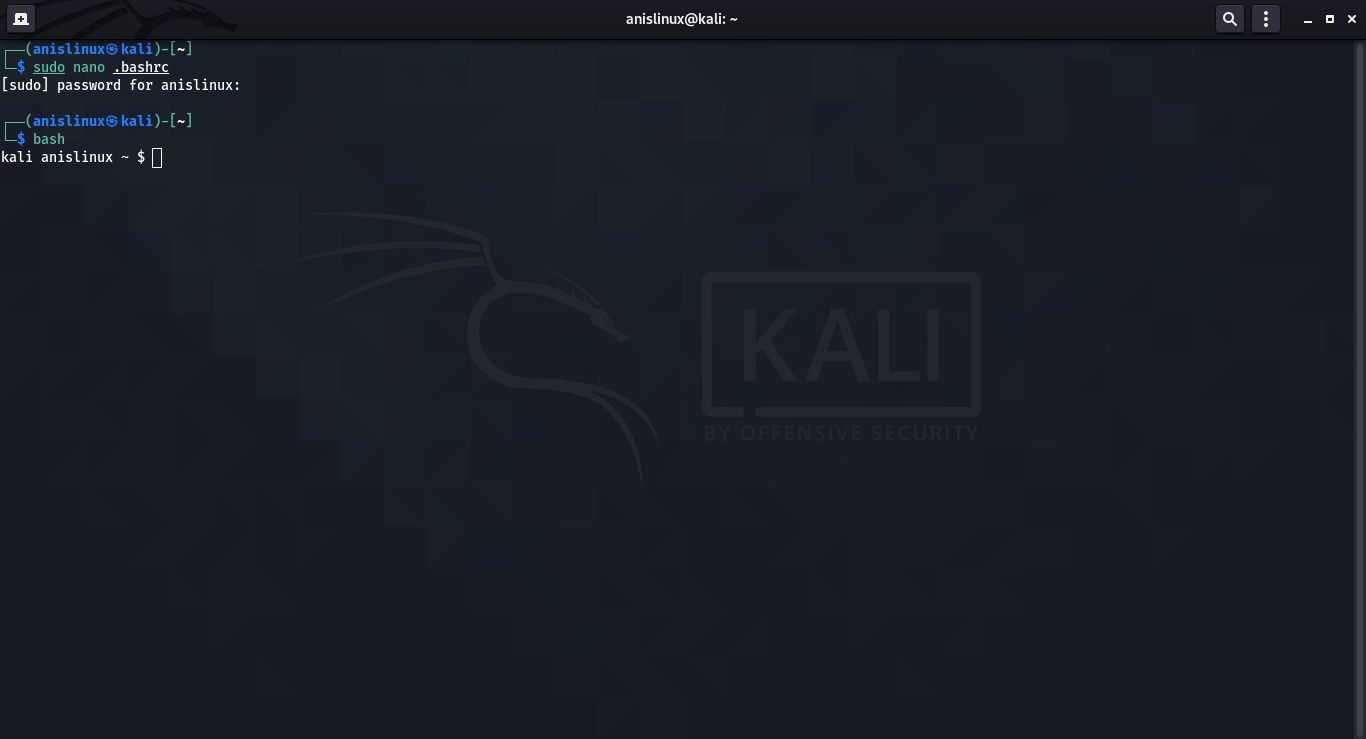
For this part we will add the export PSI="\h\u\w\$" in bashrc so the changes made will be permanent. In previous lab, we use export PS1 in terminal, it will only changes temporarily in terminal
In this lab, we use .bashrc file to save the PSI permanently and we can also remove it if we want.
A command we can use : use sudo nano .bashrc to open .bashrc file
After saved .bashrc file in the terminal then type bash in terminal and press enter. Now we can see the PS1 is changed. To undo, go to .the bashrc file again and remove export PS1 and save it. Then PS1 will change back to default format.
Part 2
Before getting into this part,make sure to create some files.
"file with blanks.txt"
"special>.txt"
"-startswithdash.txt"
After that run ls -la file with blanks.txt and notice the errors. Then, run again the command but enclose the file name for example ; ls -la "file with blanks.txt" and it will work properly now .
Run the following command : ping -c 1 packt.com
It should be like this
If this part succed. We need to run command "echo $?" and get 0 for success.
Part 4
Type ifconfig>file1.txt in terminal but we cannot see anything because the output went to file.
Type "cat file1.txt" and we can see the output.
If we type "sort<file1.txt" , it will work to read from file.
There are another way we can do both in one step "sort<file1.txt>output-file.txt"
In this part, we can learn how to send output from one terminal to another terminal. First run the "tty" command and the output will come out like this : /dev/pts/2
The other terminal type route command and enter. After output appeared in terminal, run route command again but using this command:
route>/dev/pts/2
The output will go to other terminal as we can see in figure below.
Part 6
Use this command to install the screen directory : sudo apt-get install screen


Comments
Post a Comment